Welcome to the 893rd Metamorphosis Monday! Many years ago, when I first started doing puzzles, there were a few puzzles that I really wanted to save for possibly framing later. All the methods I came across online for saving a puzzle for framing involved smearing glue over the surface of the puzzle. In the videos I watched sharing this method, it was always mentioned that the glue would alter the look of the puzzle a little. I didn’t like that. I wanted my preserved/framed puzzles to look just as vibrant and pretty as the day I completed them. After a bit of online research, I discovered this peel-and-stick puzzle saver method, and it worked perfectly!

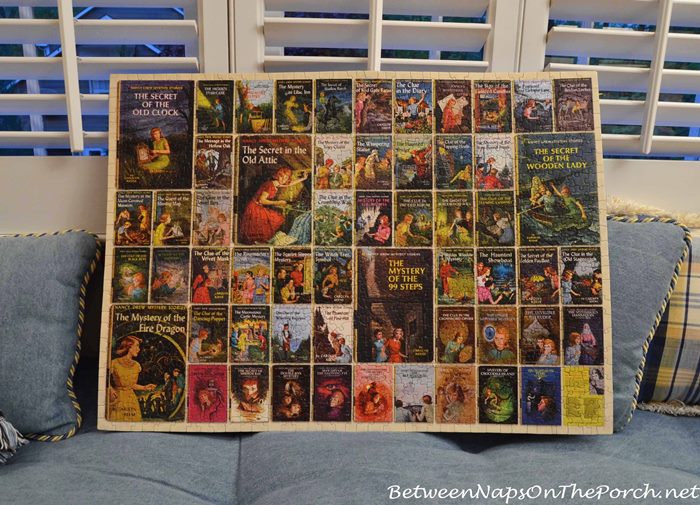
It’s the only method I’ve used since discovering it. It is super easy to use, and the puzzles I’ve saved from many years ago are still beautifully held together, even though I’ve never gotten around to framing them. (Nancy Drew puzzle is available here: Nancy Drew Puzzle.)
So it really does last!
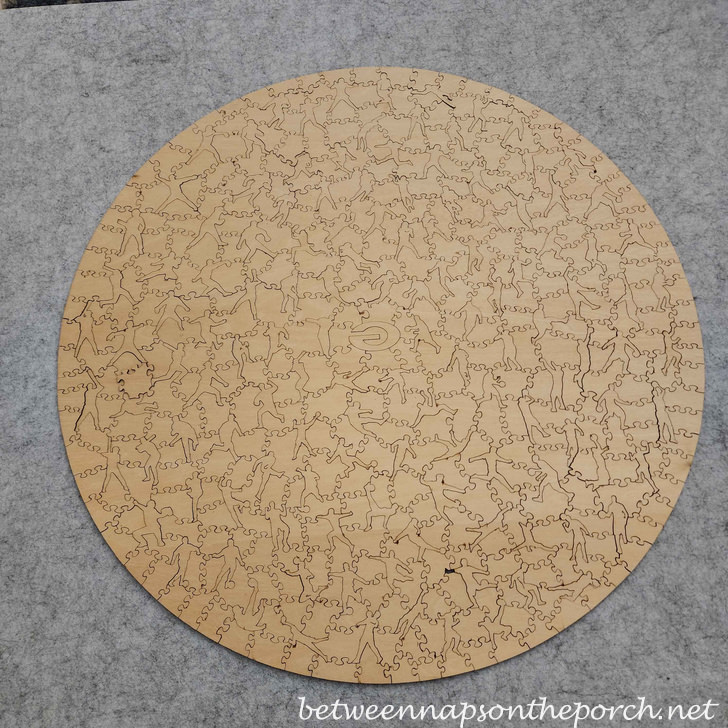
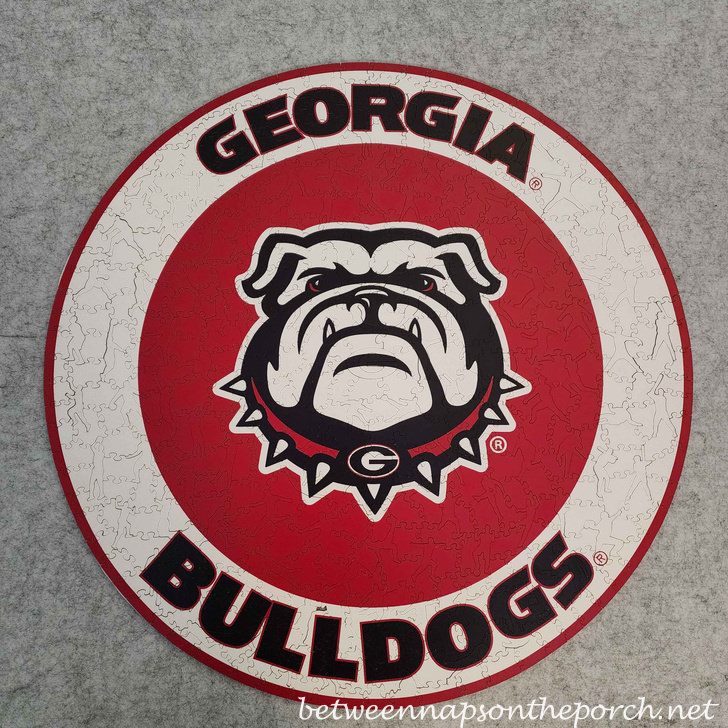
A year or so ago, I purchased this wooden Georgia Bulldog puzzle, thinking it would be great to work on during the football season when family was here watching a game in the movie room. It turned out that no one really worked on the puzzle during football games—everyone was too into the game for that, so my grandsons and I worked on it off and on over the past year.

It was a challenging puzzle since the pieces were all so irregular. Most of the pieces are in the shape of sports players. Pretty much every sport is represented. We finally finished the puzzle about a week or so ago.

Unfortunately, when I very first opened the puzzle, as I was sorting through them, I noticed a small section, an arm, had at some point broken off one of the pieces. I took that tiny broken piece and placed it in a ziplock bag that I thought I stored away in my desk in my office. I haven’t been able to find it, but I’m sure it’s here somewhere. Once I find it, I will add it to the puzzle.

We completed this puzzle on a puzzle board/mat that I had purchased just for working this puzzle down in the movie room. I was super dreading how I was going to flip the puzzle over to preserve it. Usually, that’s not a big deal with puzzles where the pieces fit tightly together, but that was not the case at all with this Bulldog puzzle.

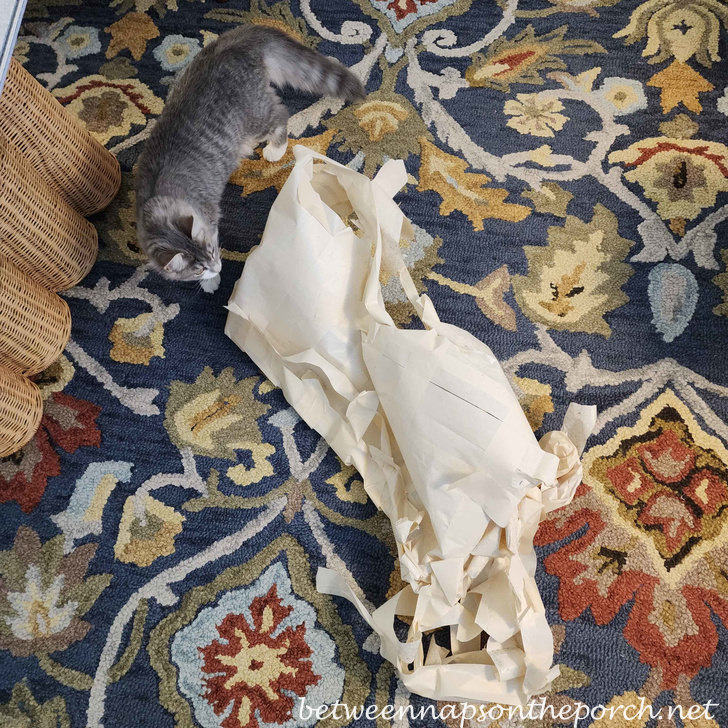
As you can see, the jagged pieces fit loosely, and when one accidentally comes out of place, it’s a bear to get back into place since the pieces are so oddly shaped.
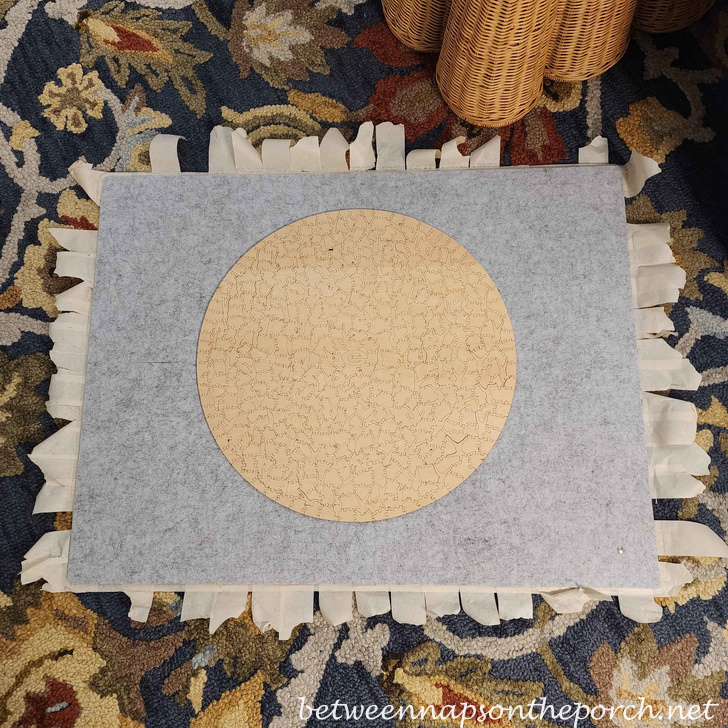
The crazy method I came up with was to place the top/cover (that came with the puzzle mat) on top of the puzzle, which was on the base of the puzzle mat, then tape it closed with a ton of masking tape. I placed masking tape strips over the entire puzzle, going one direction, then switched and did the same thing going the opposite direction. I really wasn’t sure if this would work because even a slight shift/gap could wreck this loosely held together puzzle. To add the puzzle saver pieces onto the back of the puzzle, I had to flip this crazy masking tape package over onto its front, saying a little prayer that everything stayed in place.
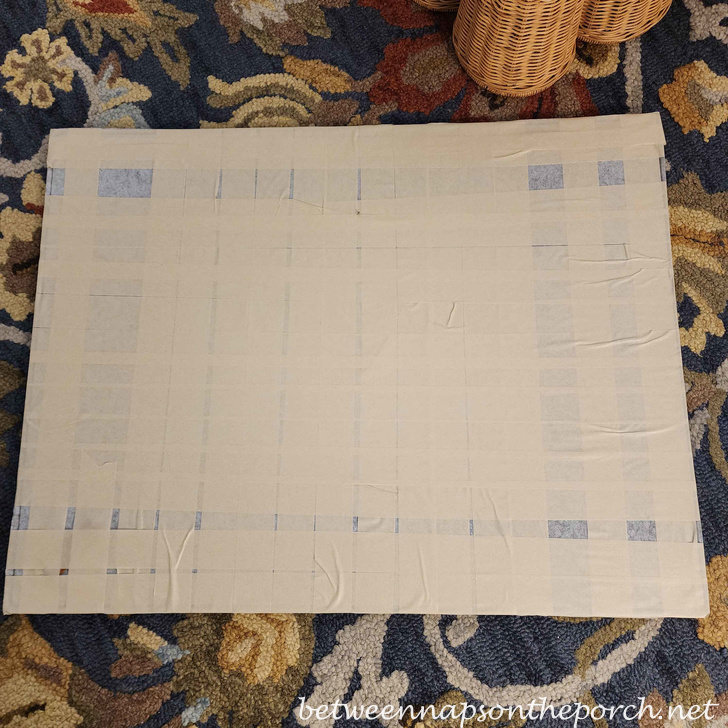
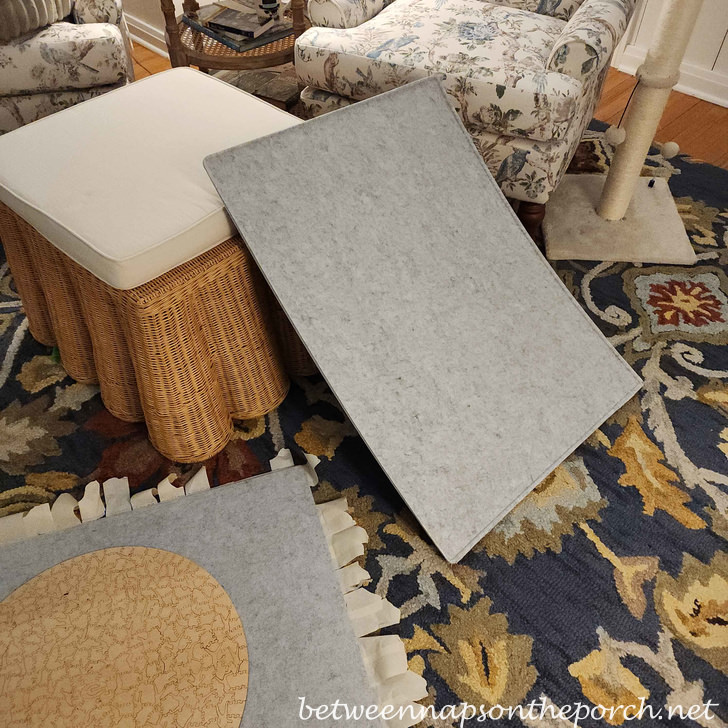
After flipping it over, I peeled back the edges of the masking tape and lifted what was actually the base of the puzzle mat off of the puzzle.
Here’s how it looked. Whew! Everything had stayed in place! Thank goodness!
I set the puzzle mat base over to the side.
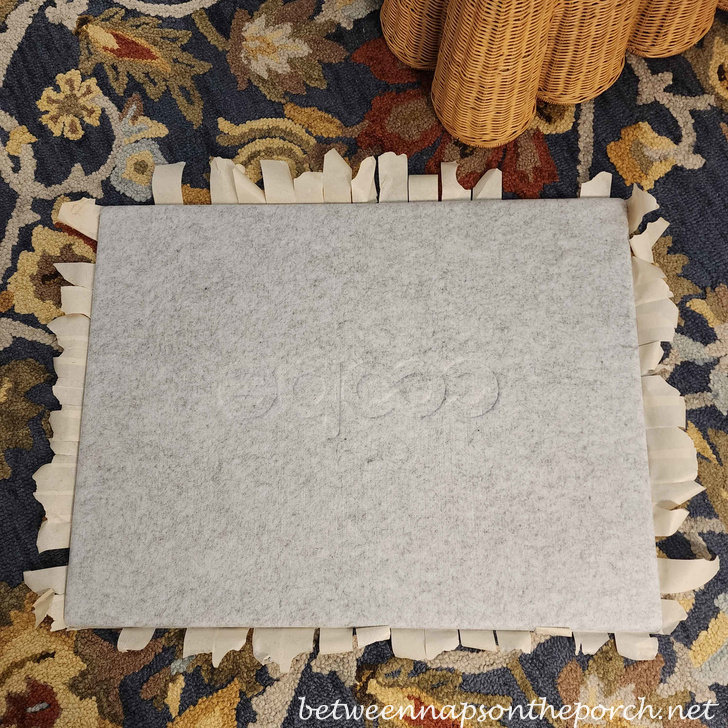
Time to get to work applying the puzzle saver strips to the back of the puzzle.
The puzzle saver kit came with 6 good-sized strips, plenty for my puzzle. This is also enough to preserve any 1000-piece puzzle.
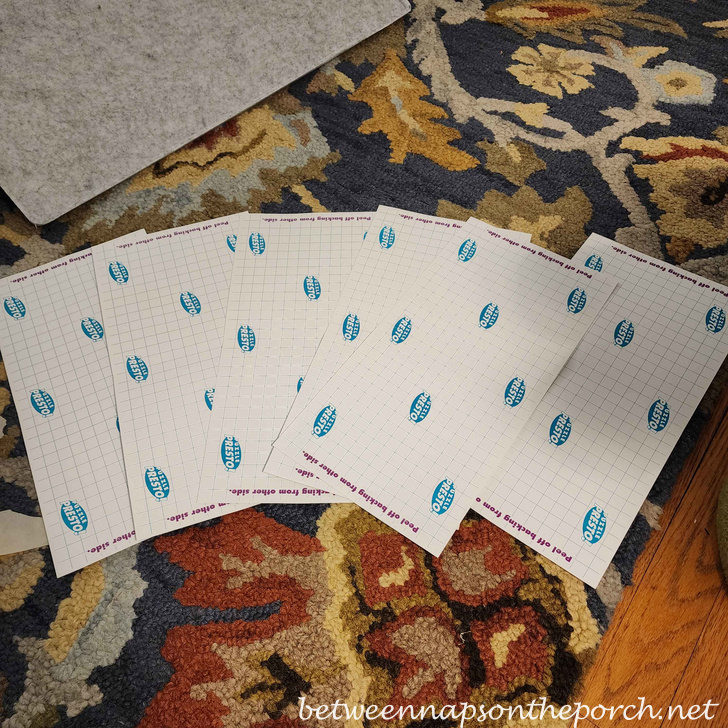
This was the first time I’ve ever tried preserving a round puzzle or a wooden puzzle. I started by placing two strips in the center. The directions recommend that you overlap the strips about a half-inch. Mine overhapped a bit more due to the shape of my puzzle. I could have trimmed the strips first, but I knew it wouldn’t hurt if they overlapped a bit more than the recommended half inch.
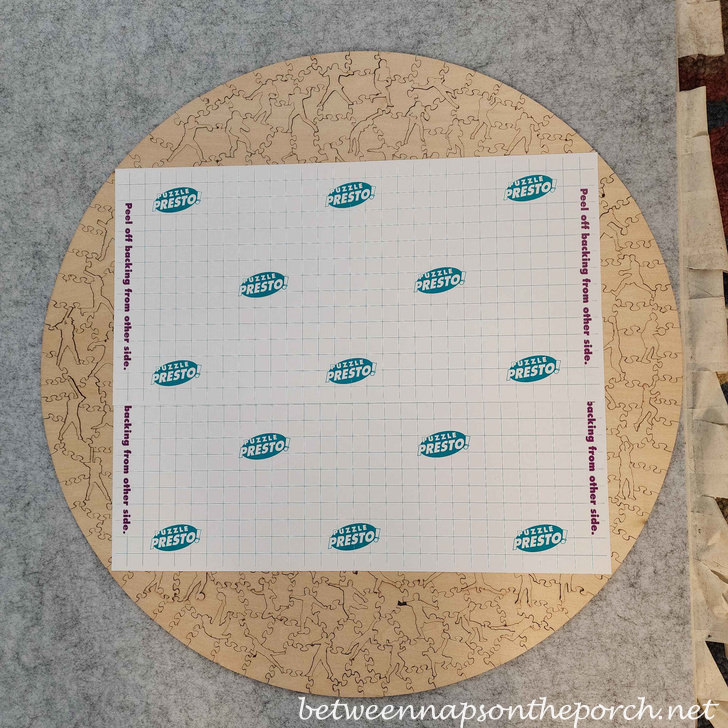
Cutting the other pieces out for the remaining sections of the puzzle was a bit of a pain. The puzzle saver pieces are too thick to just lay atop the puzzle to trace the shape of the puzzle underneath, so I took a piece of white printer paper and layed it atop the puzzle to trace out the shape the best I could. Even that was somewhat difficult, and I kept having to trim, trim, and trim to get the shape I needed. The directions recommend going almost all the way to the edge of the puzzle without going over the edge. That’s easy on a square or rectangular puzzle, but tricky on a round puzzle.
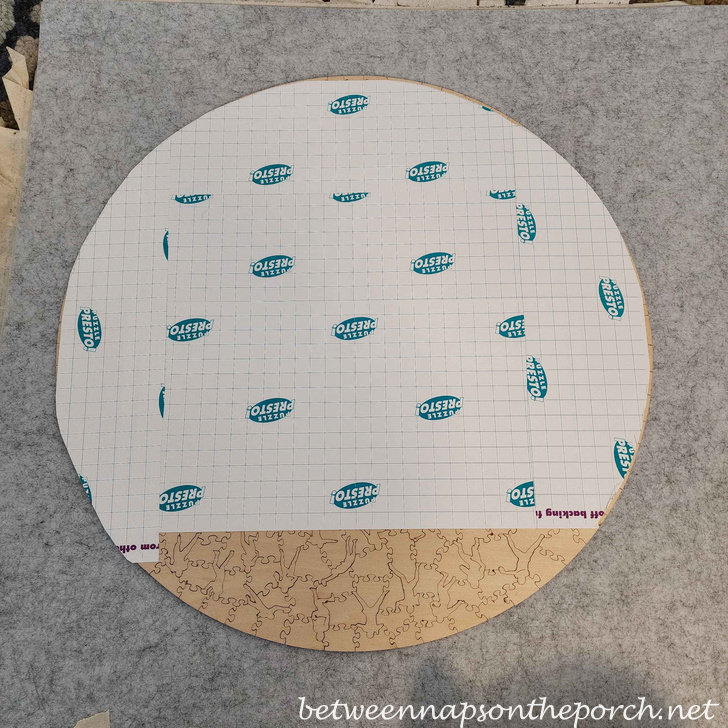
Thankfully, I discovered that it really isn’t that hard to trim off any access if you do go slightly over the edge with one of the puzzle saver strips. If you have it, the directions recommend using a rolling pin to go over the strips to help adhere them to the puzzle. I don’t have a rolling pin here, plus I’d be afraid of breaking one of the wooden pieces of this puzzle, but I’ve done that with regular puzzles and have found that it works great.
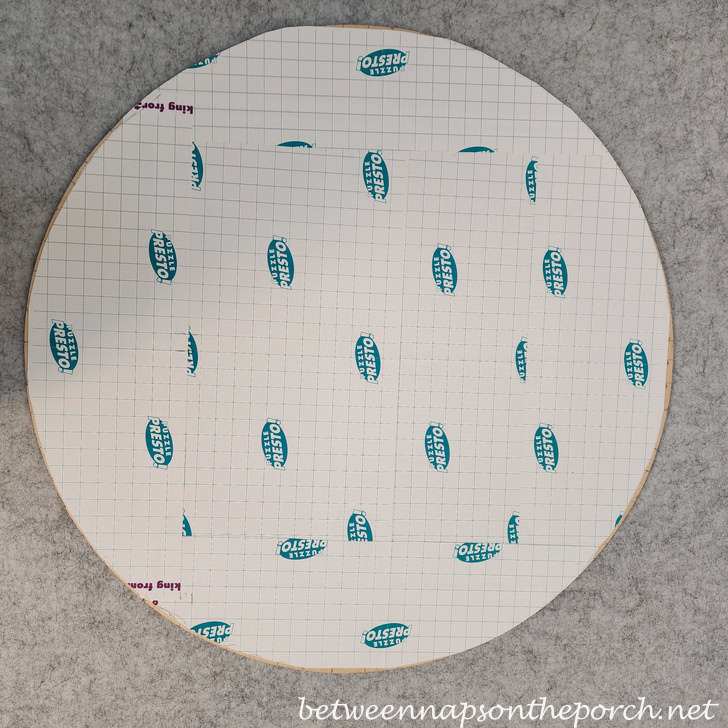
So, here it is, all held together, and it feels super solid. The directions state that with time, the bond with the puzzle will become even stronger. I guess that’s why all the puzzles I’ve preserved so far over the years are still beautifully held together. The Puzzle Saver that I always used is available here: Peel & Stick Puzzle Saver. And the puzzle mat that I used for doing this puzzle, and for flipping it to add the puzzle saver strips, is available here: Puzzle Mat with Cover.
Remember all that tape I used to tape the base and top of the puzzle mat together for flipping the puzzle?
I was dreading removing it from the top of the puzzle mat, but it came off easily in two large sections. Only took a few seconds to pull it off, so that worked great!
Now, I just need to do a tiny bit of trimming to remove any of the white sections of the puzzle saver that are sticking out from the back, and this puzzle will be ready for hanging. The puzzle came with some kind of hanging device, but I’m not sure if I’ll use that. I may have it professionally framed, not sure yet. I still need to find the missing arm piece. Argh.
Hope you found this helpful. If you have a puzzle that you would like to preserve for hanging later. I promise it is super easy if your puzzle is a normal shape and not round!
Looking forward to all the wonderful Before and Afters linked for this week’s Met Monday! Like to know when a new blog post is up? Subscribe for email updates (it’s free) and your email will never be shared. Subscribe for free email post updates here: Subscribe.
Metamorphosis Monday: Metamorphosis Monday is a party that’s all about Before and Afters. Please link up your Before and After projects, like DIY projects, room makeovers, craft projects, and even recipes. Please do not link up Table Settings; save those for our Tablescape Thursday party on Thursday. If you are participating in Met Monday, link your post to the party using the “permalink” to your MM post and not your general blog address. To get your permalink, click on the name of your post, then copy and paste the address (that shows in the address bar at the top of your blog) into the “URL” box for InLinkz when prompted.


What a great puzzle! I love projects like this – especially when they’re over. A while back I did a puzzle that was so hard I wanted to frame it just to prove I really did it! I bought something similar to what you used – not sure if it’s exactly the same or not – but it’s been sitting with the puzzle under my bed waiting to be taped and framed! Now I’m inspired to get it finished and hung up! Good luck finding the arm, and thanks for hosting the party!
lol I have to say, I’m glad it’s done! It started getting really fun about halfway through, though. I woke up ready to attack it this morning, but it took a lot longer to apply the strips han I had expected due to the shape.
Thanks, Barbara! I hope it’s not lost forever.
Good job. Do you think the puzzle company would have any extra pieces? Perhaps someone returned a damaged puzzle. I could cut a piece of cardboard to put on top of the puzzle before you flip it. I am not into puzzles, but I have a framed Mary Engelbreit puzzle with her little girl with her hands on her hips saying “Just do it!”
Sometimes I need incentives.
If they did, I don’t think it would fit. I’ve learned over the years that puzzle pieces won’t transfer from one to another. I guess it’s because they are all cut individually by machinery and it makes them vary slightly.
Your framed puzzle sounds so cute! Always liked Engelbreit’s images.
I love the Nancy Drew Puzzle. Great way to preserve your hard work. Thanks for sharing. XO- MaryJo
Thanks, MaryJo! Nancy Drew books were a happy, bright spot during my childhood so I had to get that puzzle when I saw it. I remember reading so many of those books. ♥