Back just before Christmas, I succumbed to temptation and ordered this awesome Home Alone LEGO house. The house in the movie, Home Alone is one of my favorite movie houses of all time, so I just couldn’t pass up on this fabulous LEGO build. (Take a tour of the home as seen in the movie in this previous post: Tour the Home Alone Movie House.)
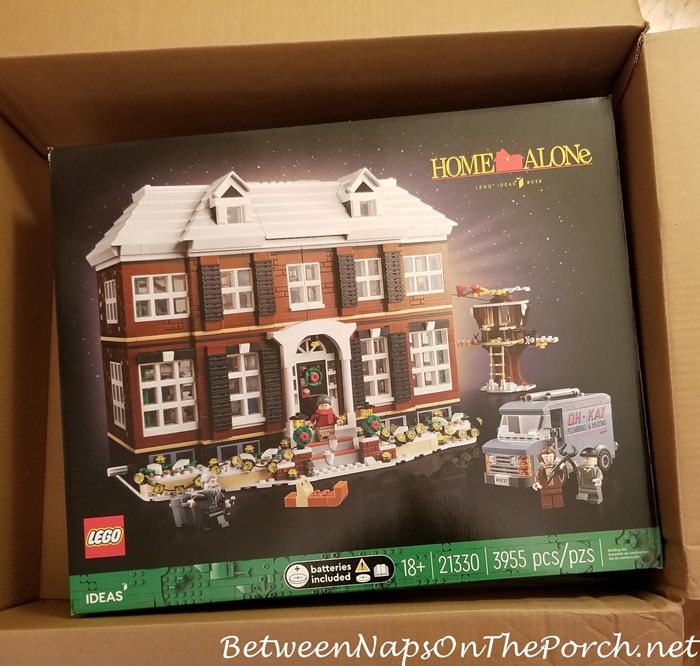
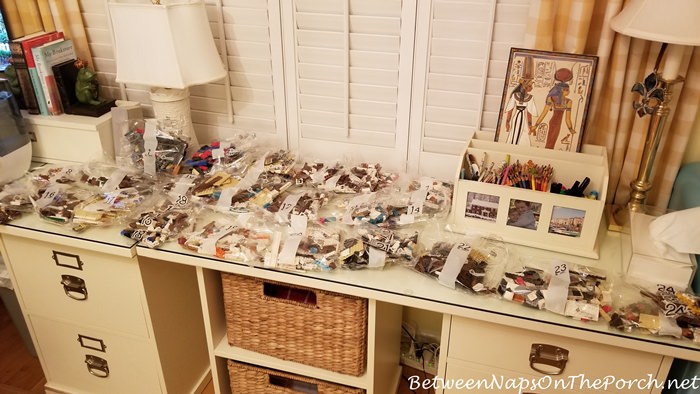
It was a pretty big undertaking with 3,955 pieces but so much fun!
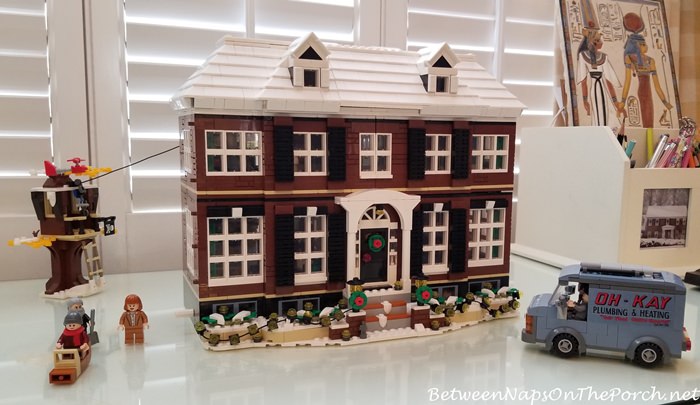
Here’s how it looked once completed. By the way, if you were one of the folks who wanted to purchase this set but didn’t get it before it sold out, I noticed it’s back in stock now at the LEGO website. I can’t recommend it highly enough! This set was designed for adults and I enjoyed the process of putting it together so much! I hope Lego will create more movie house builds–we need a Christmas Vacation LEGO set!
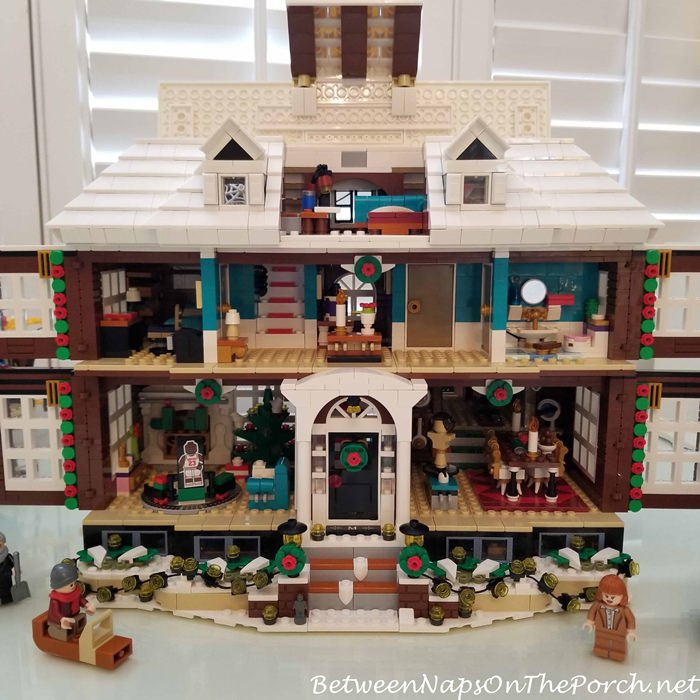
Once complete, the house opens up so you can play with all the fun features and props we all remember from the movie. If you want to see more of this home and read more about all the “Easter Eggs” included in this build, check out my previous post here: Home Alone LEGO House.
Unlike the puzzles I sometimes enjoy doing more than once, I don’t have any plans to take it back apart. Since I want to keep it available for my grandsons to play with whenever they visit–I needed a way to store and display it so it would stay clean and dust-free.
I ended up ordering a display case for this Home Alone build from Wicked Brick. Wicked Brick is somehow affiliated with LEGO and they design display cases that are specifically made for displaying LEGO builds. The display case took about a month longer to arrive than had been originally predicted, probably due to the huge demand they had at Christmastime, but it arrived yesterday and I couldn’t wait to put it together.
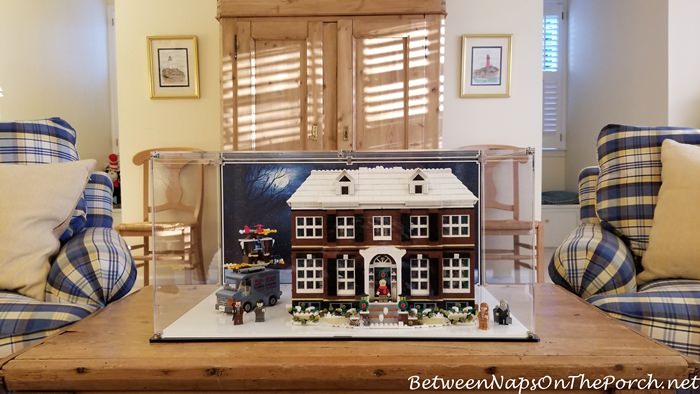
I knew it was going to be pretty big and it is! It measures 24 inches wide, 15-3/4 inches deep, and it’s 12 inches tall.
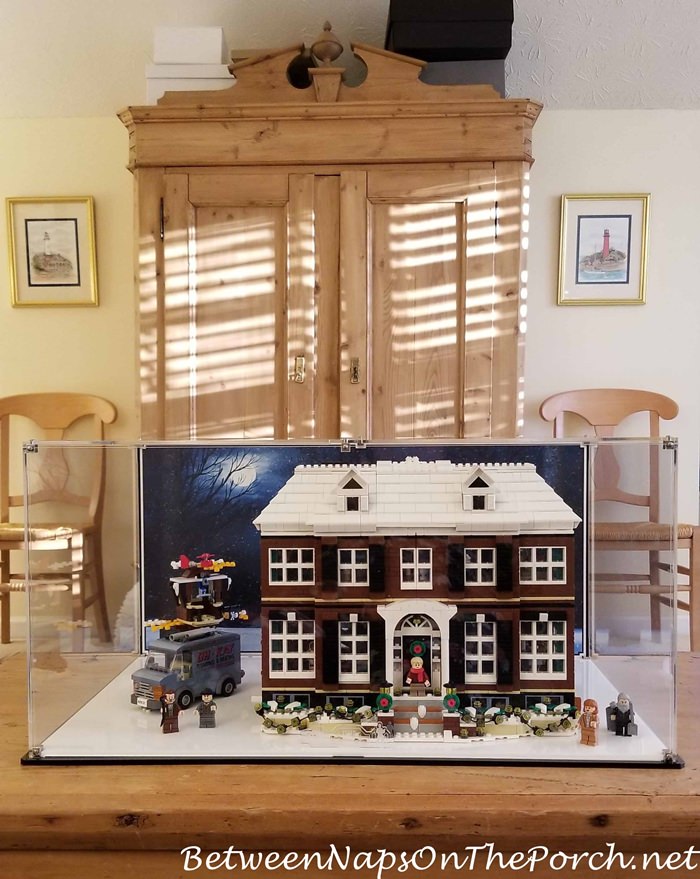
I was kinda hoping it would fit on this chest here in the upstairs living room/bonus room, but it’s too big. It completely crowds out the lamp and just doesn’t work here. Also, it’s so tall, it hides a lot of the mirror which I do not like.

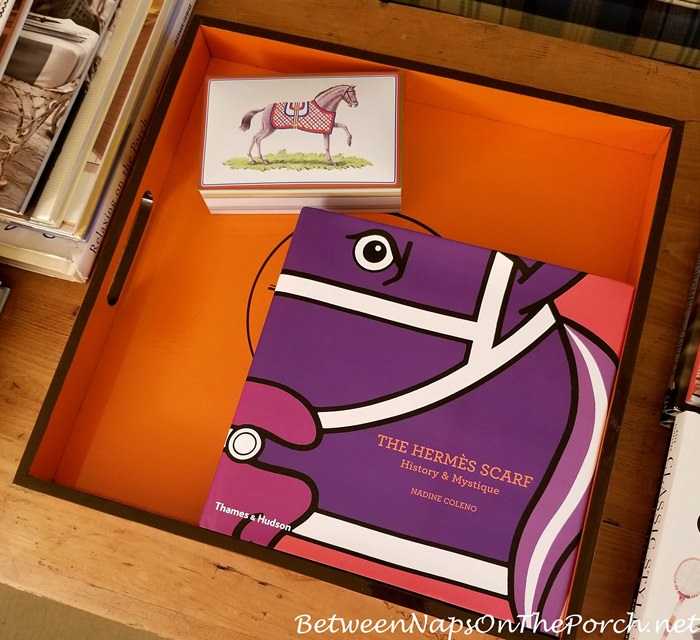
So I moved the orange tray and books I normally keep here on the trunk over to the chest.
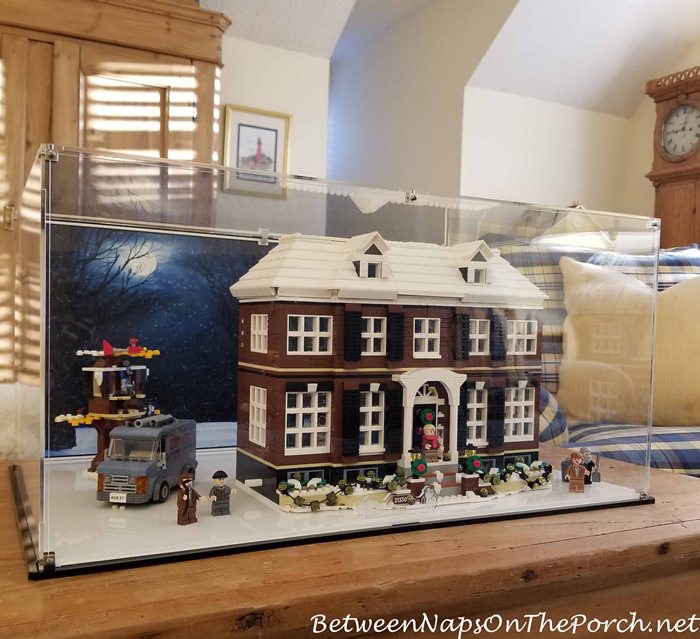
Not sure where this house/case will go to live permanently, but for now this is the best place I have to display it.

In case you ordered this Home Alone LEGO build and were thinking of ordering a display case to keep it from gathering dust, I wanted to share a few details about this case.
First off, the instructions for building it are not the greatest. If I ever buy another Wicked Brick case for a future LEGO build, it will be a million times easier now that I’ve assembled one, but if you’ve never put one together, I found the instructions to be severely lacking. They are generic instructions, so not designed specifically for the Home Alone display case. None of the individual pieces (sides, front, back, top) are labeled as such, and the photos in the instructions make it appear as if all the sections are square and the same size. They are not!
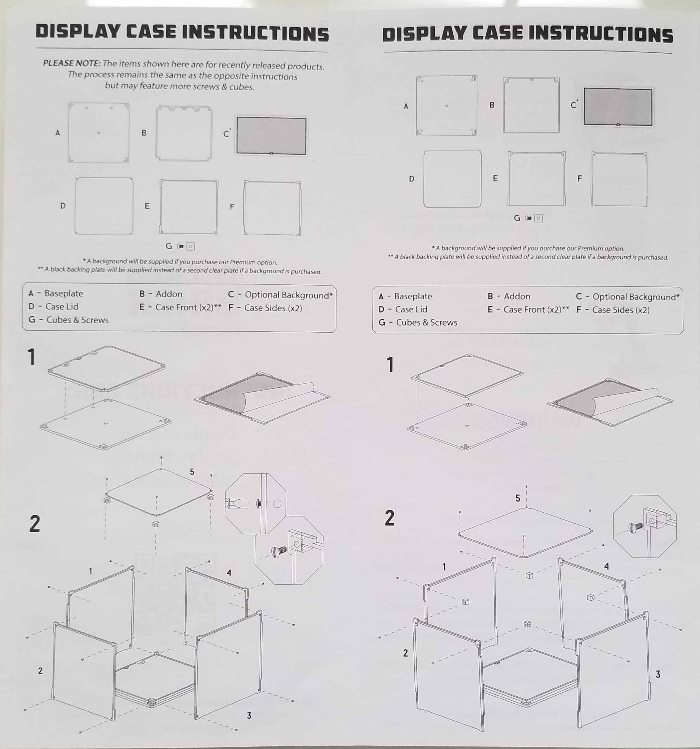
So since the pieces themselves aren’t labeled and you can’t go by the shape, the only way to figure out which part is which is by looking at the details of each piece, like the teeny, tiny notches, and logically knowing that the side pieces are going to be smaller than the front and the back. The instructions don’t indicate which side of each piece faces up or down and which side is front-facing and which will be back-facing. Again, you have to noodle that out on your own. It’s one of those builds where you just have to sorta dive in and figure it out as you go.

Besides the instructions being so vague, I didn’t realize when I ordered this case with a “Moonlight Sky” background, that the background would come as a massive 2-foot by 1-foot sticker that I’d be responsible for applying to the back panel. I’m a bit of a perfectionist and it gave me tremendous anxiety getting it on there perfectly straight. It wasn’t easy and I ended up pulling it back up and realigning it way too many times than I’d like to admit, but I finally managed to get it onto the back nice and straight.
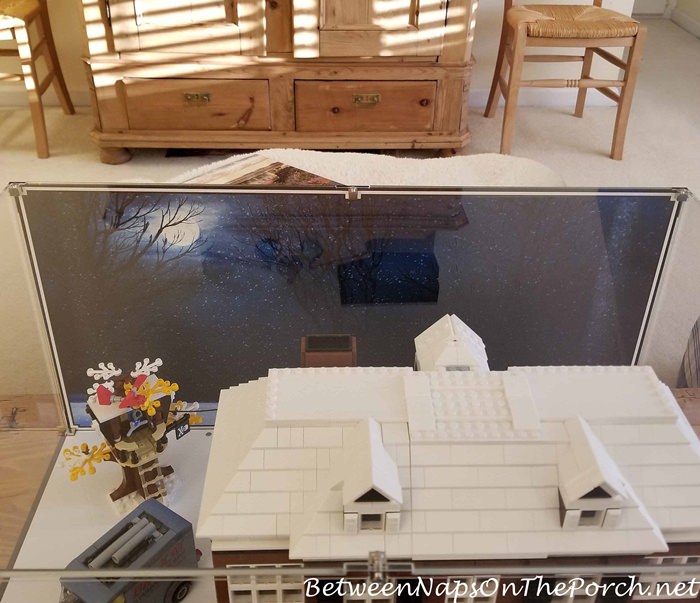
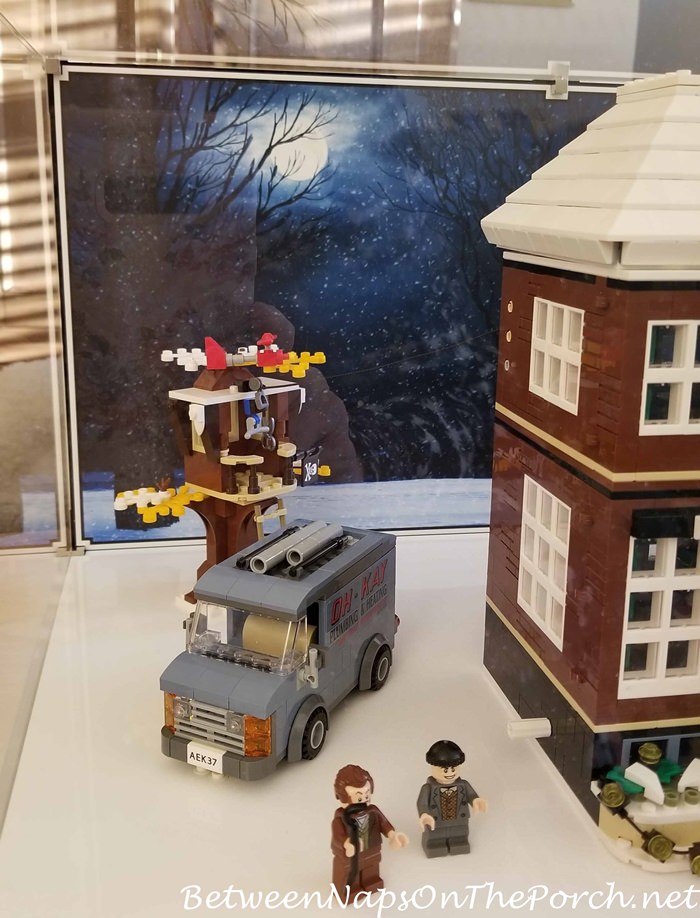
Unfortunately, there are a handful of small to medium-sized bubbles underneath that I could never work out no matter how hard I tried. I’m hoping they will magically disappear with time the way they do for those clear, plastic-like covers they make to cover the glass surface of cell phones, but I’m doubting that will happen since it’s not the same kind of material. Fortunately, they aren’t too noticeable unless you look for them from a side view.
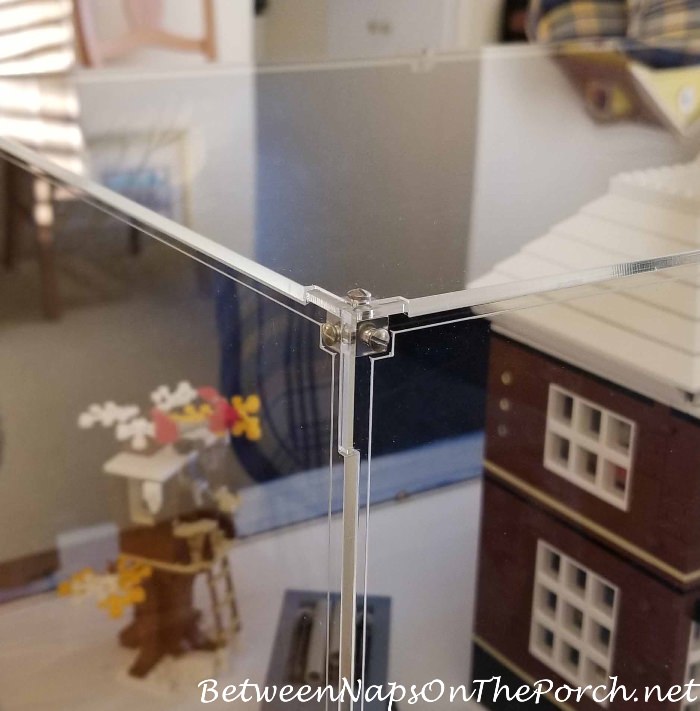
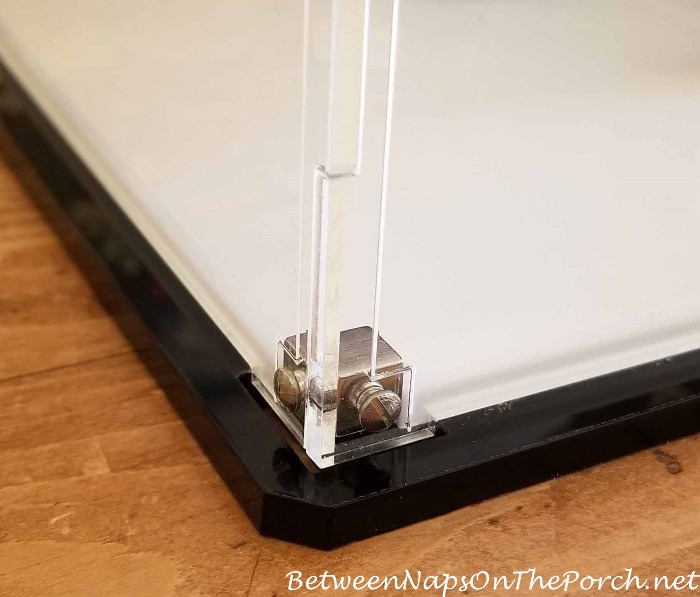
Here’s how the corner sections look once they are joined together. Hopefully, I did it right. This is one of the top corners.
And this is one of the bottom corners.
One negative to ordering the case with the “Moonlight Sky” backdrop is this is how it looks from the back. If you don’t order it with a backdrop, the back of the case will be clear just like the front. I knew it would look this way before I ordered it and I don’t mind because I don’t plan to permanently display it where it can be seen from the back.

Honestly, the back of the house isn’t that pretty to see anyway, not like the front. Plus, you can view the back of the home through the clear sides and top of the case quite well.
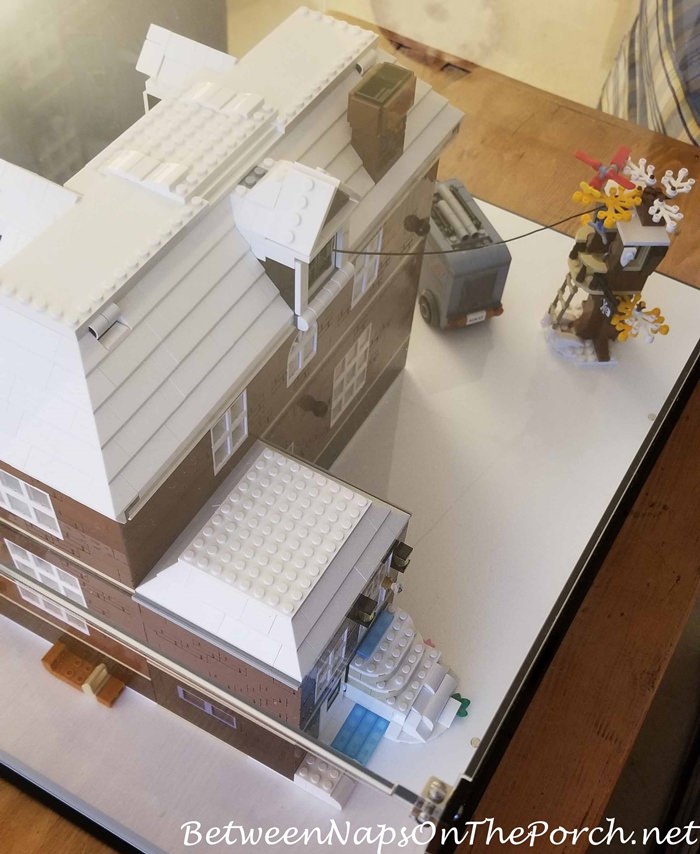
Anytime someone wishes to see more of the back or to play with the house, the whole case easily lifts up and away, leaving the house in place on the bottom display piece for playing and enjoying. So if you order one of these cases and plan to display it on a table where it can be seen from all sides, you may wish to go with the standard display case which has a clear back just like the front.

I do love it with the “Moonlight” backdrop, though. It’s supposed to remind you of the hilarious scenes that take place after dark in the movie. One more important thing to note: be sure and have a micro-fiber cloth on hand when building this display case because the acrylic surface is a huge dust/lint/fingerprint magnet. Micro-fiber cloths are amazing for wiping it clean, although the various pieces will try to grab more lint/dust as you continue the build. Just give it a good wipe-down, once done.

I would definitely order another Wicked Brick display case in the future and I know I would find it much easier to assemble now that I’ve done it once. Once you understand the concept of how they are designed, it would be pretty easy to build another one in the future. I’d probably even go with another backdrop for a future build/case, although I would still dread having to apply it. Wish they would send it with the background already applied–that would be awesome!
Did you order this Home Alone LEGO set? If so, how are you displaying it? I would love to see photos of how others are displaying their LEGO builds!


This is SO fun! And thanks for sharing the case and installation tips – that’s the kind of thing (incomplete instructions) that can drive me absolutely crazy. Can’t wait to see where you end up displaying it. 🙂
In the meantime, Happy Valentines Weekend – see you Monday!
You are not kidding! I think they could take some tips from IKEA for instructions. 😉
Thanks, Barbara! Happy Valentine’s Weekend to you, too!
XXX
Oh, heavens…that IS s PROJECT…you GO GAL!! franki
lol It was! Took longer than I expected. Thanks, Franki!
Hope you are having an awesome weekend!
Susan, it’s adorable! I love the Oh – kay Plumber’s truck and the Treehouse. 🙂 Such cute details. It’s too bad the instructions for the case were so bad. There’s really no excuse for that. I also wish they’d supply the backdrop (which is beautiful) as a card-stock style piece, so you didn’t have to hassle with the problems of a decal. No matter, you got it all done and it does look great. Can’t wait to see where you wind up keeping it, although that table seems like a good spot for the boys to play with it.
Thanks, Pam! I know, you’re right–the trunk would be great for that. That’s what this room was when their dad was growing up. We had tons of board games stashed under the long window seat at the end of the room and he would play them with his friends on the top of the trunk. This is basically a worry-free room where kids can just be kids.
I was just thinking what a fun centerpiece this would be for a Christmas table, especially with some faux snow sprinkled all around the house, the truck, etc… Kevin could be on the sled coming out the door. 🙂
Did you try using an old credit card to get the bubbles out as you were putting the background on? Or maybe something similar?
I thought about it but I was afraid it would scuff or tear into the vinyl or whatever it’s made of. It feels like a thick vinyl. Initially, I could use my fingers to push a bubble over to the edge and out, and it would make a nice satisfying pop once it came out, but the more I did that, the harder it got to get them over to the edge. I think pushing/pressing them over to the edge was just pressing down the sticker to the surface more and more so it got impossible after a while to push them over. They really aren’t noticeable unless you look in from the side and look for them. I hope they will eventually go away. I think I’ll email Wicked Brick and ask them if they will eventually go away.
Although I’ve never tried this, I’ve read where some people have used a pin to put a hole in adhesive backed vinyl to relieve the trapped air and then could gently press the vinyl flat. If you try this, I would suggest trying it first in an obscure spot.
I had thought about trying that and I don’t think it would be very visible if I did use a pin since the back panel behind it is black. I just emailed Wicked Brick to ask them if the bubbles will go away on their own–will be interesting to see what they say. I think I’ll give it some time and if the bubbles don’t go away and they really bother me, I think I’ll try the pin trick on one of them.
OMG, I had no idea LEGO had anything remotely resembling this. What a great idea for them to increase their audience. As a thought, next time (Ha!) you decide to try something similar, when applying the background spray the receiving surface with water containing a touch of liquid dish soap which will allow the top surface to be manipulated somewhat. Then use a credit card or something similar to apply the tops sheet and push out the water (a little messy but doable). Should give you a perfect surface. Thanks for sharing all this, am going next to the LEGO site to see what they have available!
I had no idea either…forgot now how I discovered the Home Alone set but I was hooked when I saw it…couldn’t get it out of my head. Ellen, check out this page that shows some of the sets designed for Adults: https://www.lego.com/en-us/categories/adults-welcome
It was going for insane prices on eBay right before Christmas.
Thanks for that tip on how to apply big vinyl stickers like that!
I was going to suggest getting a very thin needle and slipping it in at the side of a bubble – or a very thin pin. A quilt shop (not a big box store, but one like Tiny Stitches in Marietta) probably will have them in different thicknesses if you decide to go that route. Good luck!
Thanks, Joy! Hope I don’t have to do that but I may in the end.
The case sounded like a huge challenge putting it together Susan. Can I give you a little tip about the moonlight “sticker” in case you ever do this again?? Use parchment paper on the sticky side of the “sticker” all except for about 1/2 inch at the top/side or where ever you want to start. That way it will move all around, letting you line things up before committing. Once you have it lined up to suit you, then stick the part that doesn’t have the parchment paper on it down. Then pull out the parchment paper a little at a time, using a scrapper/credit/store card to squeeze out any bubbles you might get. Also maybe try using a hair dryer and scraper to see if you can get the bubbles you have now out. I hope that made sense! The house looks great in the case and I really do love the moonlight background! Hugs, Brenda
Thanks for those tips, Brenda! The parchment paper is genius! I just may try the hairdryer trick, that’s a great idea. I emailed Wicked Brick to ask if they will go away on their own with time and am waiting to see what they say. Thanks again for those suggestions!
I received my set from Lego and cannot wait to get it put together. I have ordered the display case as well. I do want to ask if you bought the lights or lighting for the house? Wondering what to buy for lighting and your suggestions are greatly appreciated. Thanks!
Wanda, I’m jealous! I wish I was just starting my Home Alone house all over again. You will have so much fun!
I purchased lighting from “Game of Bricks” but haven’t had the nerve to install it yet. lol I’m a little intimidated after watching a guy do it on YouTube. He was using a different brand though, so maybe it won’t be as complicated as he made out.
Here’s a link to their Home Alone light sets: https://gameofbricks.eu/products/lego-home-alone-21330-light-kit
I went with the set that’s called “Remote” in the drop-down menu because I wanted to be able to turn them on with via remote.
If you end up buying lights from them and install them, please let me know how it goes.
Well done Susan! I’m happy for you that the house is well protected in its awesome case, free of dust. The moonlight backdrop really sets it off. Maybe you can off some tips on better instructions to the company since theirs are so poorly written! Lol You did a great job of putting it all together!
A wonderful display piece/fun playhouse! Your abilities never cease to amaze me, Susan. I absolutely do not have your patience to complete such projects. I would have a heap of broken acrylic panels and screws on the floor if I ever attempted what you did today. Bravo! You are an inspiration, for sure.
Susan, I love the outcome of this!! So very fun in every way!!